In this Tip Of The Month, we will create a 3D drift and schedule its advance rate with colors. To do so:
- Create 3 layers for the Centerline, 2D drift walls and 3D drift.
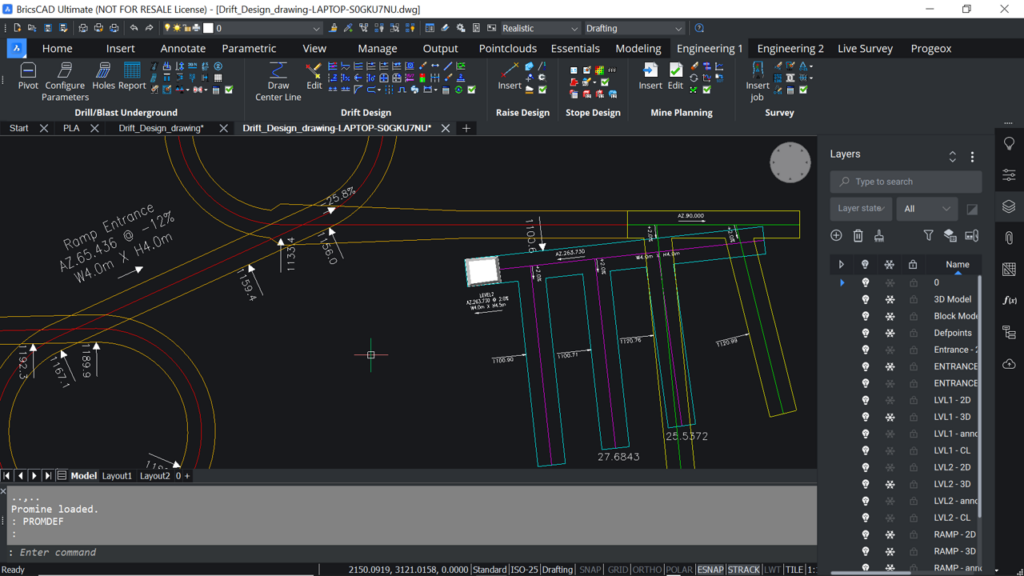
- On the Cenerline layer, create two intersecting centerlines using the Draw Center Line (PLDT) command from theDrift Design module
- Adjust the elevations and slopes of the centerlines using the command Edit Elevations (PLDT)
- Using PLDT, specify an advance rate and assign a date for the first drawn centerline
- Using PLDT, specify an advance rate for the intersecting centerline
- Using PLDT, choose the option “pick” to retrieve the intersecting date from the first drawn centerline
- On the 2D drift walls layer, use the command PLWA to draw the 2D wall contours of the centerlines
- Use the command TRIM to cut off the parts of the 2D walls inside the drift
- Use the command Date Colors (PLAL) to display the schedule of the advance rate of the centerlines with colors
- Click on the command Construct 3D Model (PL3D) and choose the centerlines, then hit Enter
- In the PL3D window, configure the shape of the drift and assign it to the 3D drift layer
- In the PL3D window, make sure to choose the options “Divide Model per Month” and “Use Month Colors”, then click OK
- Switch to realistic mode for better visualization
- In Essentials > Promine tools, insert a legend using the command Insert Legend (PROMLEG)
- You can customize your own legend in Promine Options > Colors Legend. Then, go back to PROMLEG to insert your customized legend
Want to discover more of Promine’s capabilities? Request a Live Demonstration today!
For more information, contact us at [email protected]


