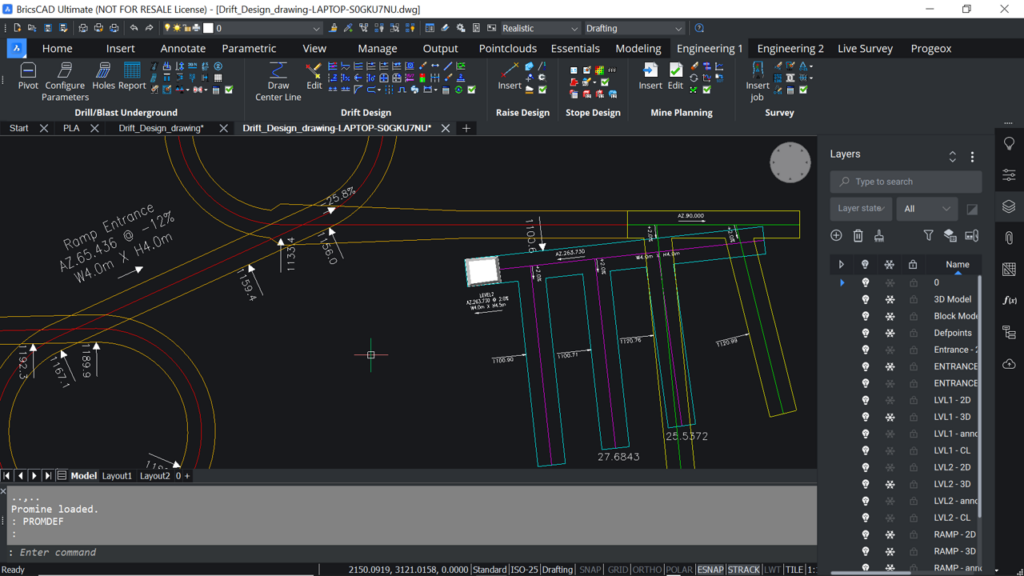
In this tip of the month, we will see how to design a Drill-and-Blast pattern in an underground mine; then, insert customized reports to quickly analyze the details of each drill hole. The Drill- and-Blast module is the perfect tool to quickly customize designs readily available to be sent to the operations team.
- If you already have the section(s) inserted in the drawing, skip this step. If not, insert the underground drift on which the drill-and-blast design will be designed and the 3D model of the
- If you already have the sections() inserted in the drawing, skip this step. From the section module, go to plan view use the “Cut 1 Section” (SEC1) command to cut a section crossing the drift area where the drill holes will be inserted. Depending on the mining method used, use an appropriate section cutting type. For example, for long hole mining, use the “Point-Azimuth” type and cut a section by drawing a dashed line. Then, choose the right mining
- In the “Cut 1 Section” command window, name the section, choose the clips, check the option “Cut objects” and uncheck the option “Turn off other layers”. Then, click
- The program will automatically switch to section view. From the Drill-and-Blast Underground module, select the “Pivot line” (DRIP) command and insert a pivot line using 4 different options:
- A flat pivot line using a drill
- Offsets from the drift
- Mark an arc pivot line
- A pivot point
- Select the “Configure Parameters” (DRIS) command and select the pivot line, the drift contour, and the blasting
- Select the “Insert holes” (DRIH) command, select a starting position and a type/method of drill hole
- From the Drill-and-Blast Underground module options, go to Customize Reports > select a drilling report or add a new report > Edit > Add items by clicking the “->” button and configure other options below. Once configured, click OK until you exit all windows.
- Select the “Insert Report” (DRIR) command and select the type of drilling report to be inserted. After configuring the options in that window, click OK and select the drill holes using a fence, if applicable. Then, depending on the items in the report, select a remote drilling polyline and a reference polyline, if applicable. Hit Enter and place the report in the drawing. Then, insert the section annotation in the drawing as well.
- Select the “Load Holes” (DRILH) command and configure the explosives parameters. You can insert 2 bottom loads and explosives in stages. Once configured, click OK. Select where to start the collar of all drill holes and then, select the holes on which the loads will be applied. Hit Enter and a hatch will be applied on the selected
- To edit a charge of the hole, select the “Edit charge” (DRIEE) command and select a charge to be edited. In the window, you can add up to 24 different explosive types and configure the length of each charge. You can also edit the charge diameter and insert a plug.
- From the Drill-and-Blast Underground module options, go to Customize Reports > select a blasting report or add a new report > Edit > Add items by clicking the “->” button and configure other options below. Once configured click OK until you exit all
- Select the “Insert Report” (DRIR) command and select the type of blasting report to be inserted. After configuring the options in that window, click OK and select the drill holes using a fence, if applicable. Hit Enter and place the report in the
- Finally, you can easily insert a professional layout using the Grid module, found the Essentials category. To do so, select the “Create Layout” (GRD) command and select the printer, paper size, pen style, scale, orientation and title block. Then, choose to insert a main grid and a second grid; in this specific example, grids are not necessary. You also have the option to insert a north
- Click OK and position the layout so that the section objects are approximately in the middle of the layout. Select “Continue” and enter the attributes of the title block. The layout is now ready for


